Switching to a new hosting provider might sound complicated — but it’s actually easier than you think.
Whether your current hosting is slow, expensive, or unreliable, migrating your website can improve speed, uptime, and overall performance.
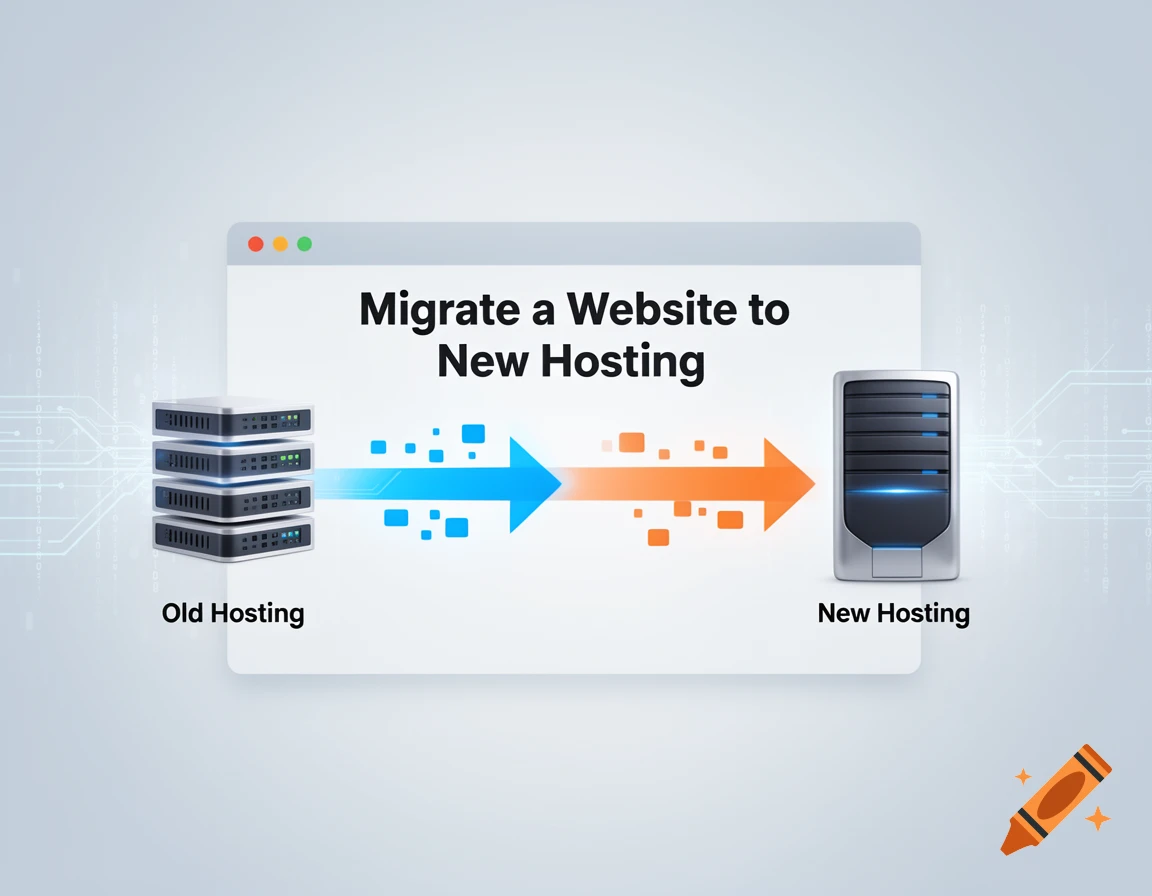
In this guide, you’ll learn how to migrate your website to a new hosting provider step by step, even if you’re a beginner.
🚀 Why Migrate to a New Hosting?
You may need to switch hosting if:
- Your website is slow
- Frequent downtime issues
- Poor customer support
- High renewal costs
- Limited features
👉 A better host can significantly improve your website performance.
⚠️ Before You Start (Important Checklist)
Before migrating your website, make sure to:
- Backup your website files
- Backup your database
- Note down login details
- Choose a reliable new hosting provider
📖 Read:
👉 How to Choose the Right Web Hosting Provider
🧠 Step 1: Choose Your New Hosting Provider
Pick a hosting provider that offers:
- Better speed
- High uptime
- Good support
⭐ Recommended:
- Hosting (affordable + fast)
- Bluehost (beginner-friendly)
👉 Some hosts offer free migration services, which makes the process easier.
💾 Step 2: Backup Your Website
This is the most important step.
You need to backup:
- Website files (HTML, images, etc.)
- Database (MySQL)
Methods:
- Using cPanel backup
- Using plugins (for WordPress)
- Manual FTP download
👉 Always keep a full backup before moving.
📂 Step 3: Upload Files to New Hosting
Now upload your website files to the new hosting server.
Options:
- File Manager (cPanel)
- FTP (FileZilla)
👉 Upload files to the public_html folder.
🗄️ Step 4: Import Database
If your site uses a database (like WordPress):
- Create a new database in your new hosting
- Open phpMyAdmin
- Import your old database
👉 Make sure database names and users are correct.
⚙️ Step 5: Update Configuration File
For WordPress websites:
Edit the wp-config.php file and update:
- Database name
- Username
- Password
👉 This connects your website to the new database.
🌍 Step 6: Update Domain DNS
Now connect your domain to the new hosting.
Steps:
- Go to your domain registrar
- Change nameservers to your new hosting
- Save changes
👉 DNS propagation may take 24–48 hours.
🔍 Step 7: Test Your Website
Before going live, test your site:
- Check pages and images
- Test forms and login
- Verify links
👉 Fix any errors before final launch.
🔒 Step 8: Enable SSL & Security
After migration:
- Install SSL certificate
- Check HTTPS
- Enable security features
👉 This ensures your site is safe and trusted.
🏁 Step 9: Final Check & Go Live
Once everything is working:
- Cancel old hosting (after confirming everything works)
- Monitor performance
- Check uptime
📖 Read:
⚡ Easy Method (Recommended for Beginners)
If you don’t want to do it manually:
👉 Use:
- Migration plugins (like All-in-One WP Migration)
- Free migration service from hosting providers
👉 This saves time and avoids errors.
⚠️ Common Migration Mistakes
- Not taking backup
- Wrong database configuration
- DNS errors
- Cancelling old hosting too early
- Not testing website
🎯 Final Thoughts
Migrating your website may seem technical, but it’s actually simple if you follow the right steps.
👉 Backup → Upload → Connect → Test
If you’re a beginner, consider using migration tools or hosting support to make the process easier.
❓ FAQs
How long does website migration take?
Usually a few hours, but DNS changes can take up to 48 hours.
Will my website go down during migration?
If done correctly, downtime is minimal or zero.
Can beginners migrate a website?
Yes, especially using plugins or hosting support.